Food Photography Tips + Tricks *Natural Light

I first got into food photography a little over a year ago, towards the end of 2020. At first, I had no idea where to begin as before I was talking very simple photos of my food on my phone. Soon after purchasing my Nikon D3500, I experimented day after day, and eventually learned valuable food photography tips and tricks along the way. After numerous youtube videos, reading articles online, and looking at my instagram followers’ pages, I acquired some techniques that without fail would always yield the best photo. Here is a guide to my beginner food photography tips and tricks (for natural light)! I hope you guys learn some valuable tips in this article and start producing the most delicious and captivating food photos.
- One of the most important rules in food photography is to prop your photography table and subject at a position that is perpendicular to the light source. In natural light food photography, this would mean the sun. So if you have an east-facing window, you would want to have your table and food positioned north.
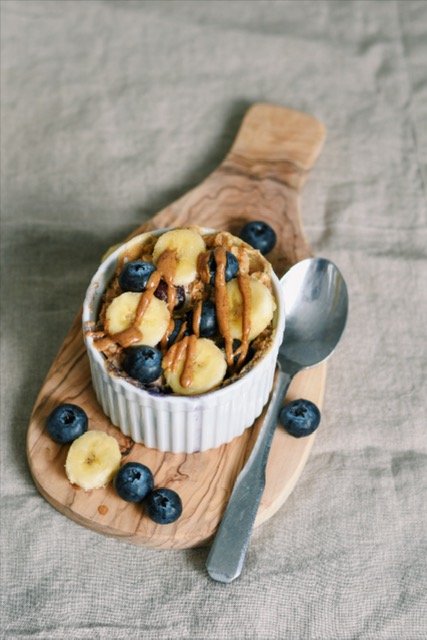
- Use shadows to your advantage. Back-lit photos can often be very interesting and it adds some perspective to your photo. Side-lit photos are also very three-dimensional and helps the food come to life. Try to avoid front-lit photos because they make the photo look very flat.
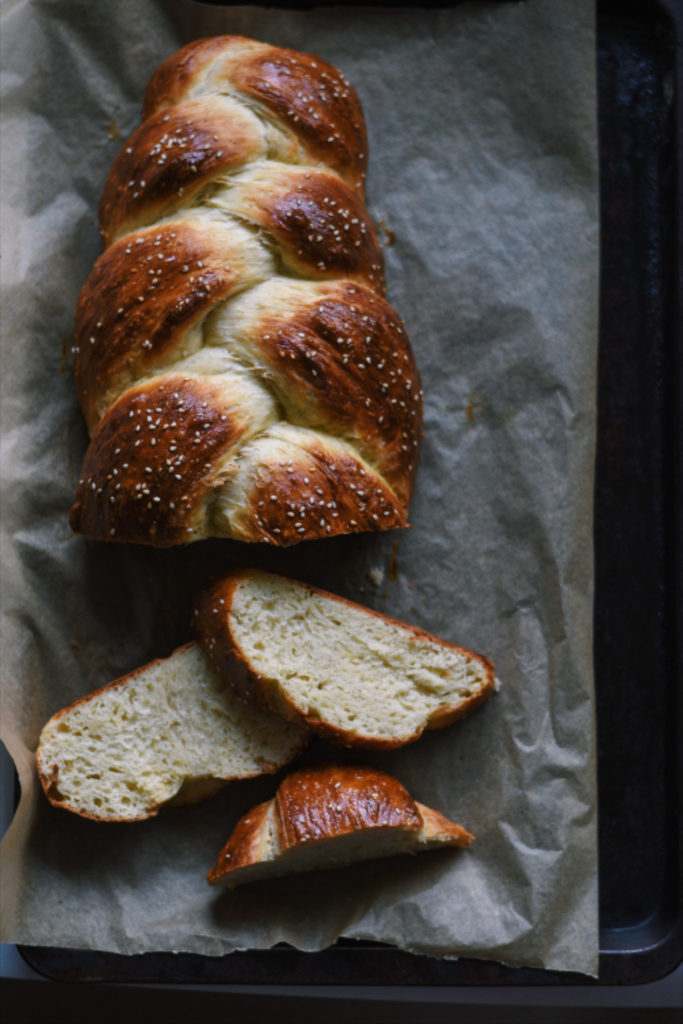
- Use a diffuser to block harsh light from your photo. My window personally has some transparent shades over it which blocks out the intense light. You can also purchase a diffusor on Amazon!
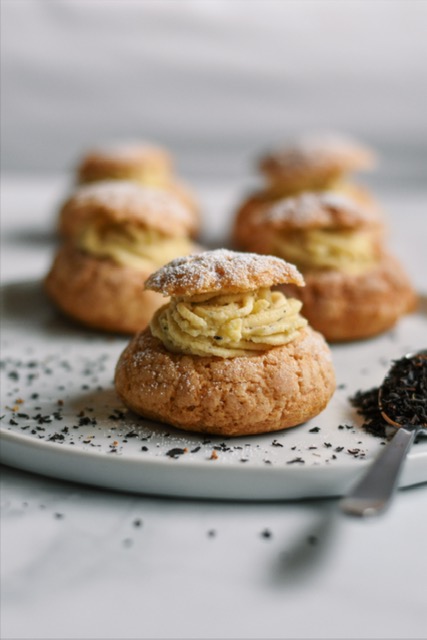
- Add a human element in your photos, such as dipping a cookie in milk or just holding the baked good/snack. This allows the viewer to feel more connected with the photo.

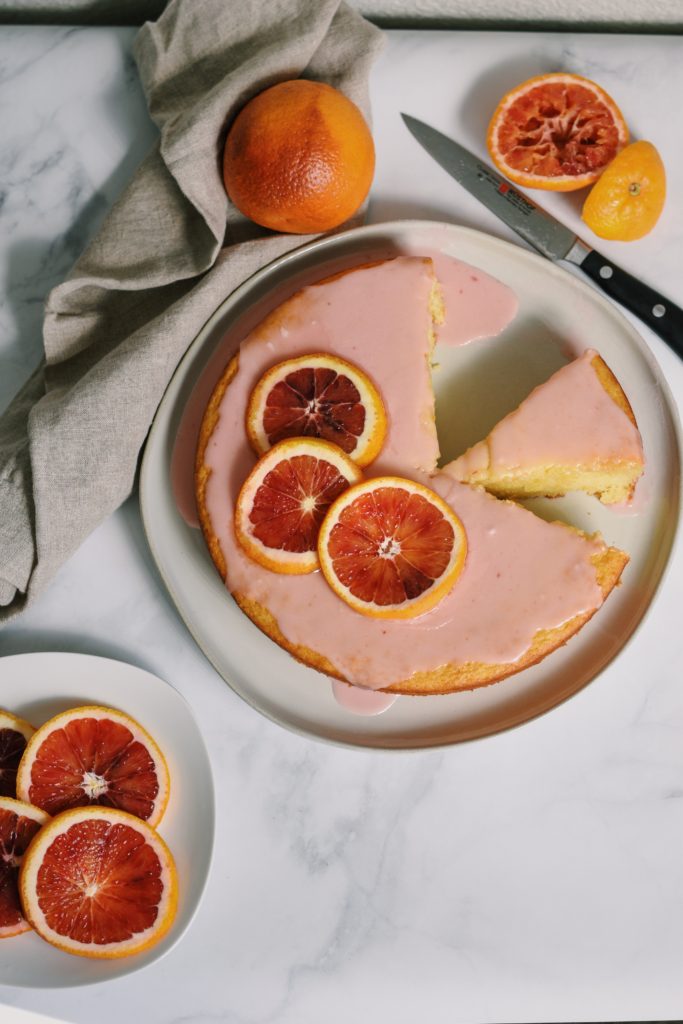
- Whatever is in the recipe, add it to the background and foreground of your photo. This will help the viewer get a better idea of what is in it. Here is an example of a blood orange cake utilizing this technique. My zesty lime pancakes also use this method.
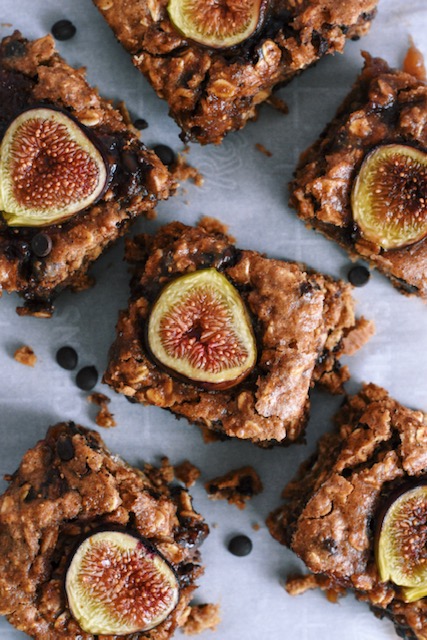
- Layers, layers, layers. Imagine you are photographing a pizza. Add a wooden board or pizza stone on the bottom, pizza on top, and then layers of toppings. This will add more complexity to the photo. Or in this case, the first layer is parchment paper. Then, the fig bar. Finally, the fig slice and chocolate chips.
- Contrast. Contrast is your friend when it comes to food photography. One of the easiest ways to achieve this is by having a pale food/drink against a dark background or vice versa. Once you get into post editing for your photos in applications such as Lightroom, you can add contrast curves and play around with your photo even more.

